How to use adhesive tapes for vehicle painting

Giacomo Russu Export Sales Manager
31 July 2023

Step-by-step guide to using adhesive tapes for painting cars and commercial vehicles
If you are a professional dedicated to car and commercial vehicle care, then you know that painting is an essential part of the maintenance process.
Applying a new coat of paint can make vehicles look as good as new, restoring shine and splendor to the eyes of the beholder.
However, to achieve professional paint jobs, certain techniques need to be mastered, and a key tool for precise and clean results is vehicle tape.
The importance of adhesive tapes in vehicle painting
The use of adhesive tapes during the painting process is essential to protect the parts of the car that are not to be painted.
Adhesive tapes create protective barriers, preventing paint from reaching unwanted surfaces and providing a clear line of demarcation between different areas to be painted.
Choosing the right adhesive tape for painting
Before starting the painting process, it is essential to choose the type of adhesive tape that best suits your needs. At Naster, we are a reference point for supplying professional body masking tapes.
Among our numerous products, we cannot fail to mention MASK 80° PLUS: this masking adhesive tape is specifically designed for body shop and industry paint booths and is ideal for cars and commercial vehicles. Easy to apply and remove, it leaves no residue or streaks on surfaces.
The cleaning and preparation of the surface
Once you have chosen the tape, it is of fundamental importance to thoroughly clean the surfaces involved in the painting process. Remove any traces of dirt, dust, or old paint that could compromise the tape's adhesion. Additionally, make sure the surfaces are completely dry before proceeding with the application.
Application of adhesive tape for painting
Begin by applying the adhesive tape along all the areas you wish to protect from painting. Be sure to attach it firmly and precisely to avoid any smudging or paint seepage.
If you need to follow a curved line, opt for a flexible tape that easily conforms to shapes.
Pay special attention to corners and joints, as these are often where paint can seep in if not properly protected.
After applying the tape, perform an adhesion check. Make sure that all edges are perfectly sealed and that the tape adheres firmly to the surface. This step is crucial to avoid problems during painting.
The painting phase of the vehicle
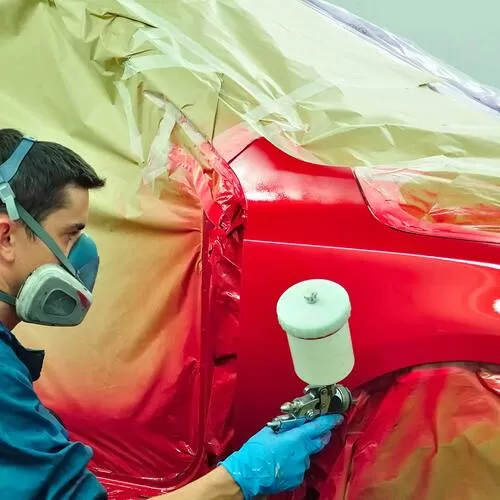
Once all areas to be protected have been thoroughly covered with tape, you can proceed with painting. Be sure to use high-quality paint and follow the manufacturer's instructions for best results.
The removal of adhesive tapes
After completing the paint job and before the paint is completely dry, it is time to carefully remove the adhesive tapes. Peel off the tape slowly and carefully, following the line of demarcation to achieve a clean, defined edge.
Once all the adhesive tapes are removed, carefully check the line of demarcation and make sure there are no smudges or errors.
Finally, let the paint dry completely before touching or using the car. This will ensure that the paint sets properly and lasts a long time.
Conclusions and the role of Naster
In conclusion, if you use adhesive tapes properly, you can achieve professional results and a high-quality finish. We at Naster are a one-stop shop for supplying adhesive tapes for various applications.
Contact us now for more information!
